Meshed floorboard…

OK. I’ll admit it. I’ve never seen a varroa mite. Just the way it was, with timing of varroa entering the industry, and me leaving it, back in 2000. Just never had the opportunity or particular desire to.

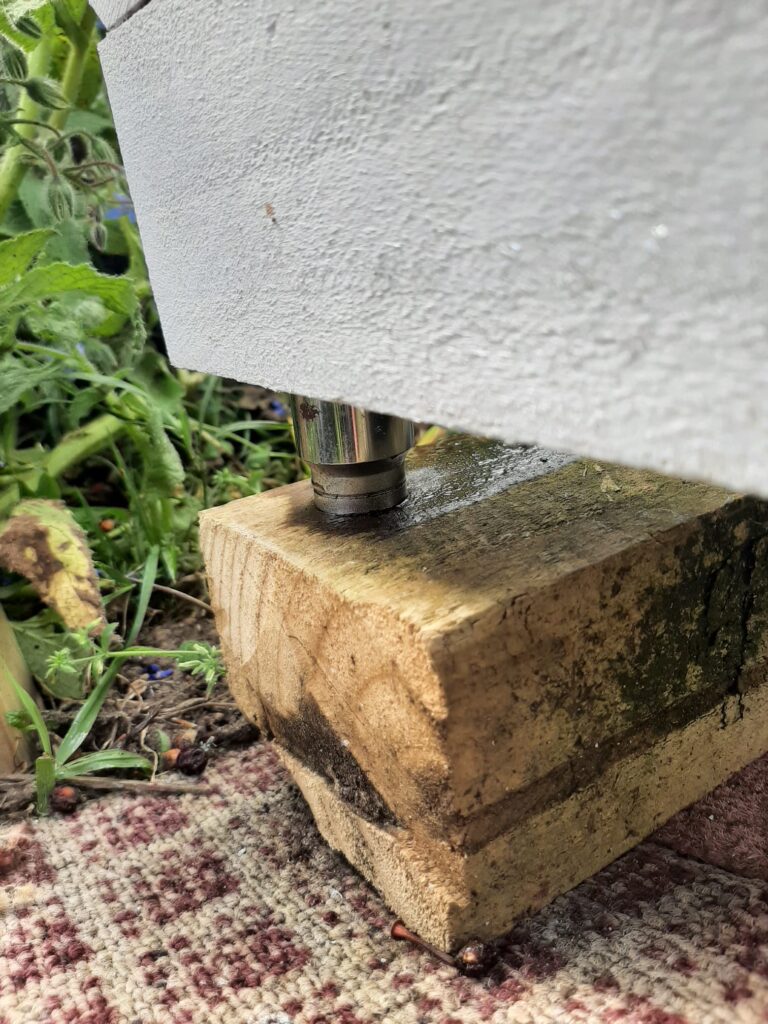
But now, based on an article in the latest NZ Beekeeper magazine, I’ve converted the existing floor to allow for the monitoring of mite drop. The idea is the mites, if they fall onto the floor of a hive, simply return to the hive – I’m not sure if they walk or if they catch a ride with a passing worker bee. But if they fall through a mesh (too small for bees to go through), you can trap them on a piece of core flute plastic. Spreading oil on the core flute makes sure the mites that fall are killed. Then, periodically, you remove the core flute, count the mites, wash it off – and put new oil on it to return to the hive.

The new hive entrance

This is not a varroa control measure. Or at least not really significant. The idea is to monitor the mite drop levels over time, potentially using it as another measure to alcohol washes, which give a proper sort of “mites per 100 bees” sort of measure.

But for me? Stil never seen a mite? We shall see…

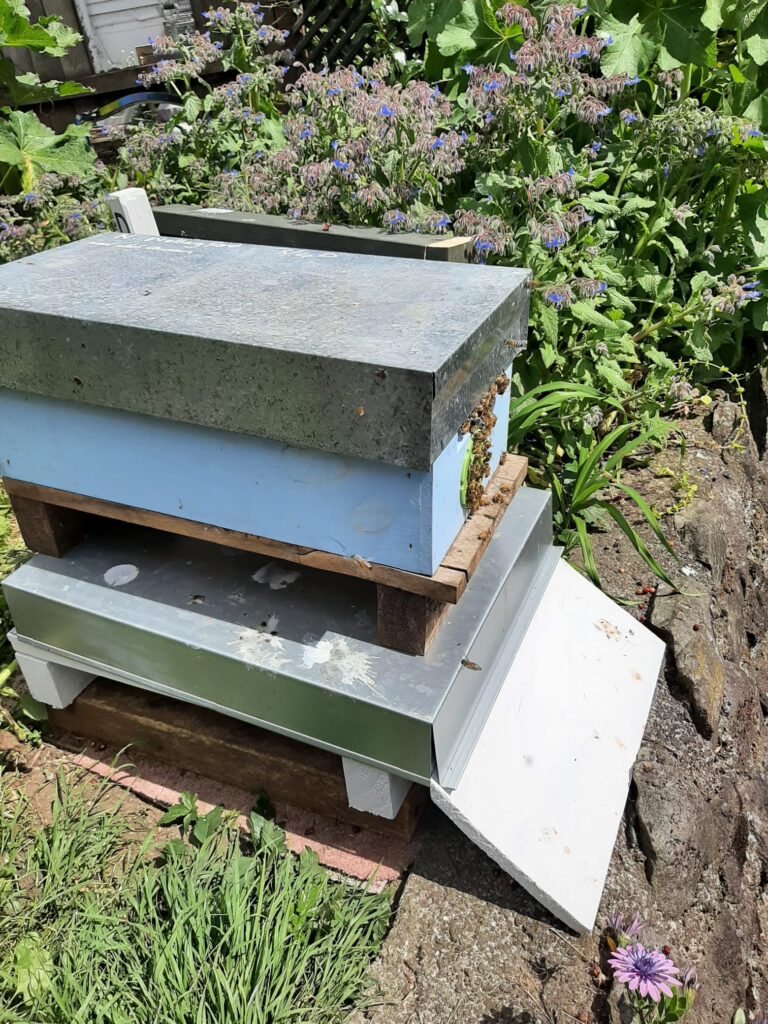
My daughter did the woodwork part, using a lovely piece of macracapa. We were at the DIY Shed in Tauranga, where she has some access to the machinery she needs for her ‘real’ woodworking.

Used the joiner, thicknesser, lovely table saw. Drop saw. A wee bit of bandsaw – and she finished her part of the work, giving me beautiful timber.

Me, I used over-sized screws, drilled too-small pilot holes, forced it when needed, applied a hammer to finish. Glue stains everywhere including a lot of No More Nails since I didn’t cut stuff square, did I? I put it all together while she was at her workshop today so she wouldn’t see what a shoddy, but barely-workable, job that I did.

The original entrance, now at the back of the hive, with the glass insert partly removed

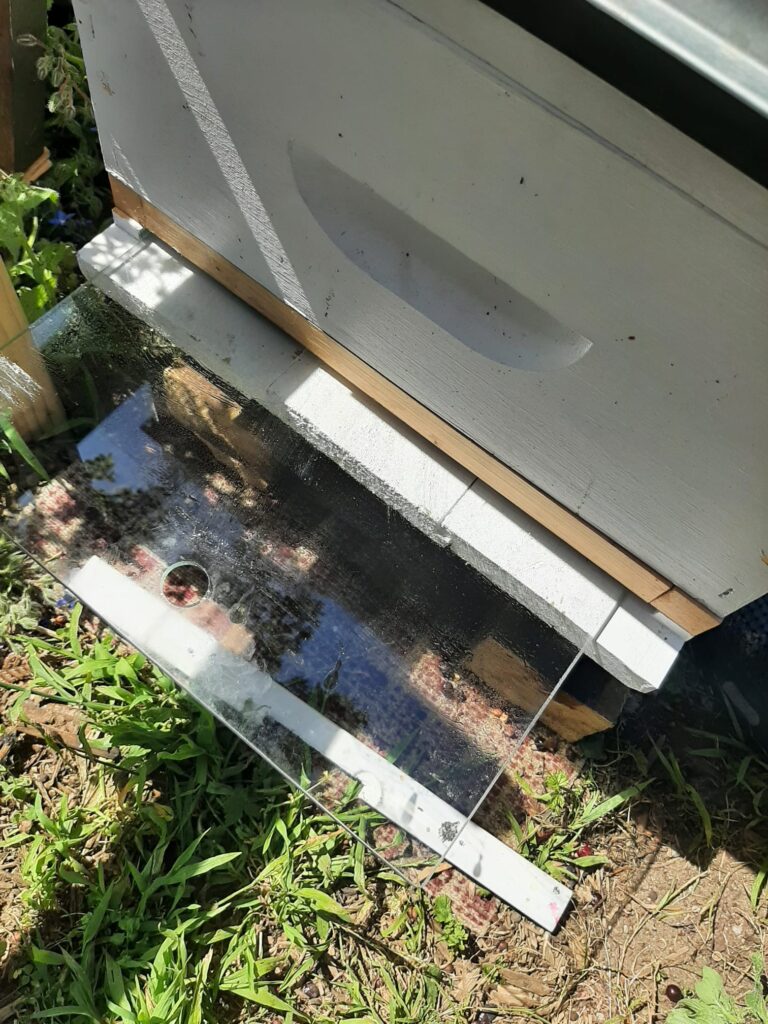
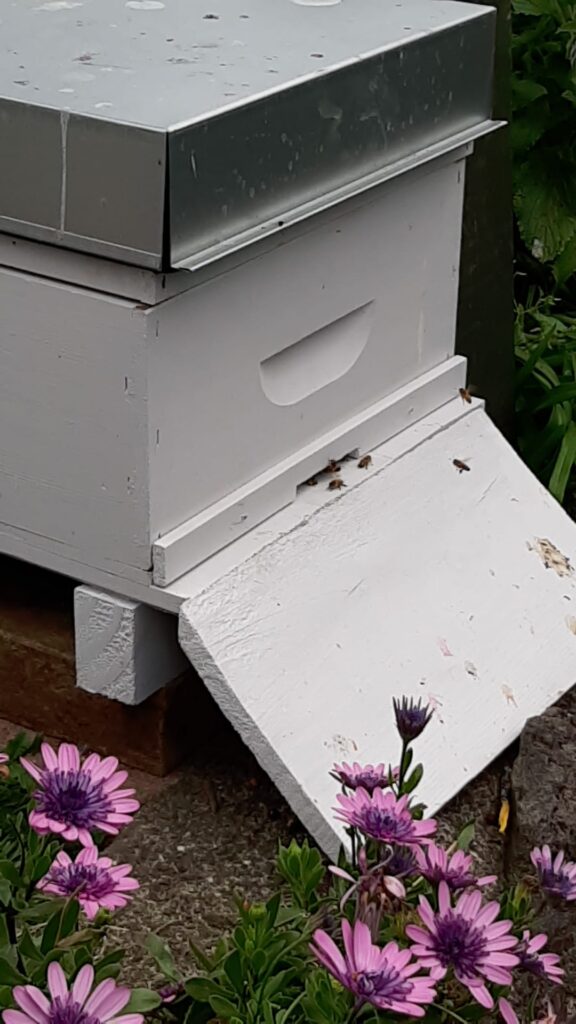
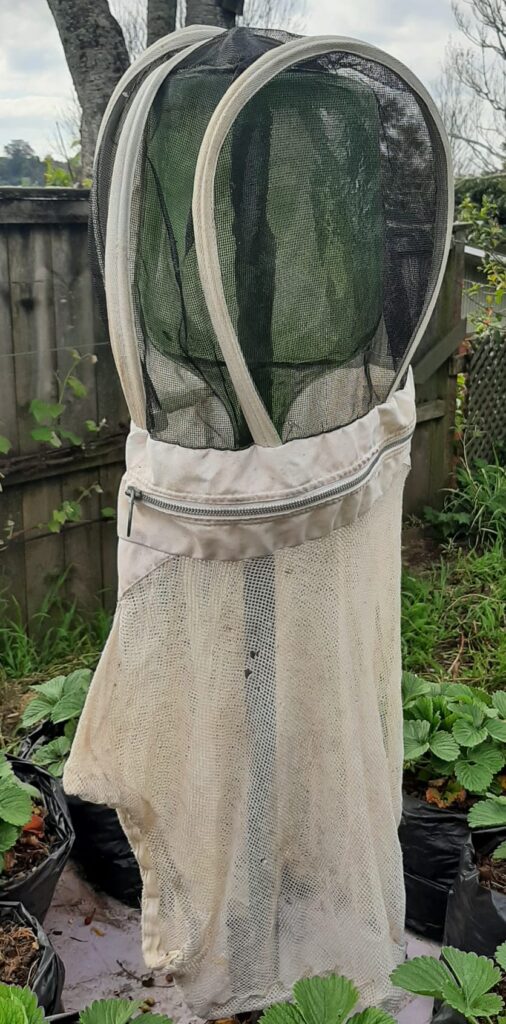
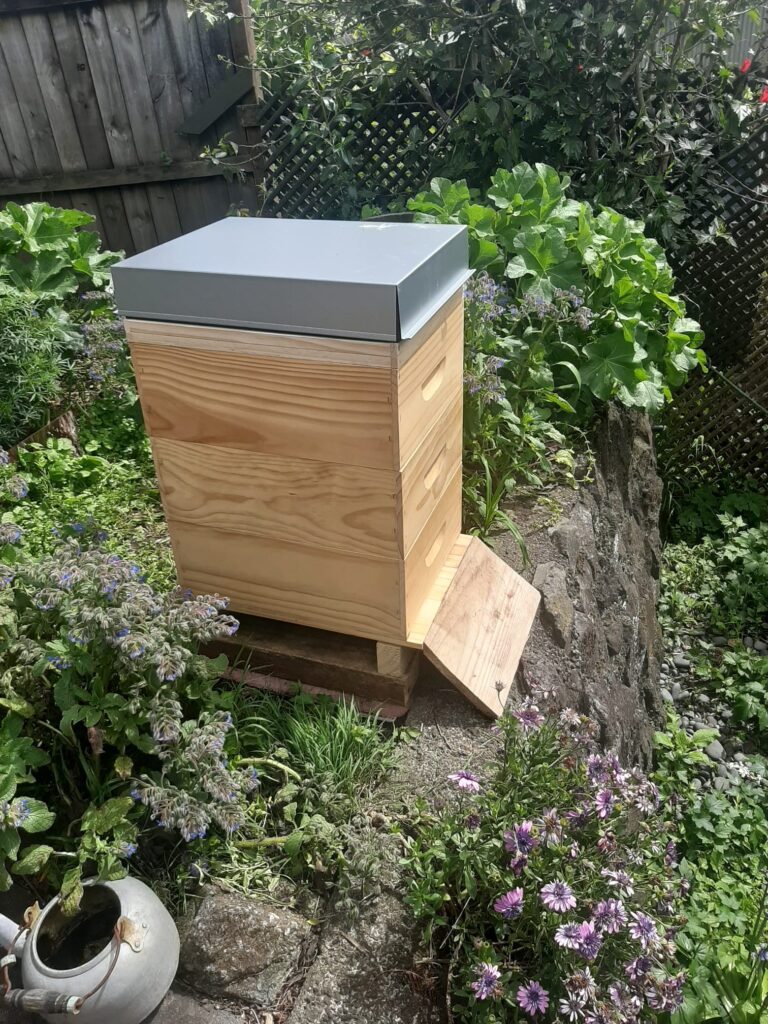
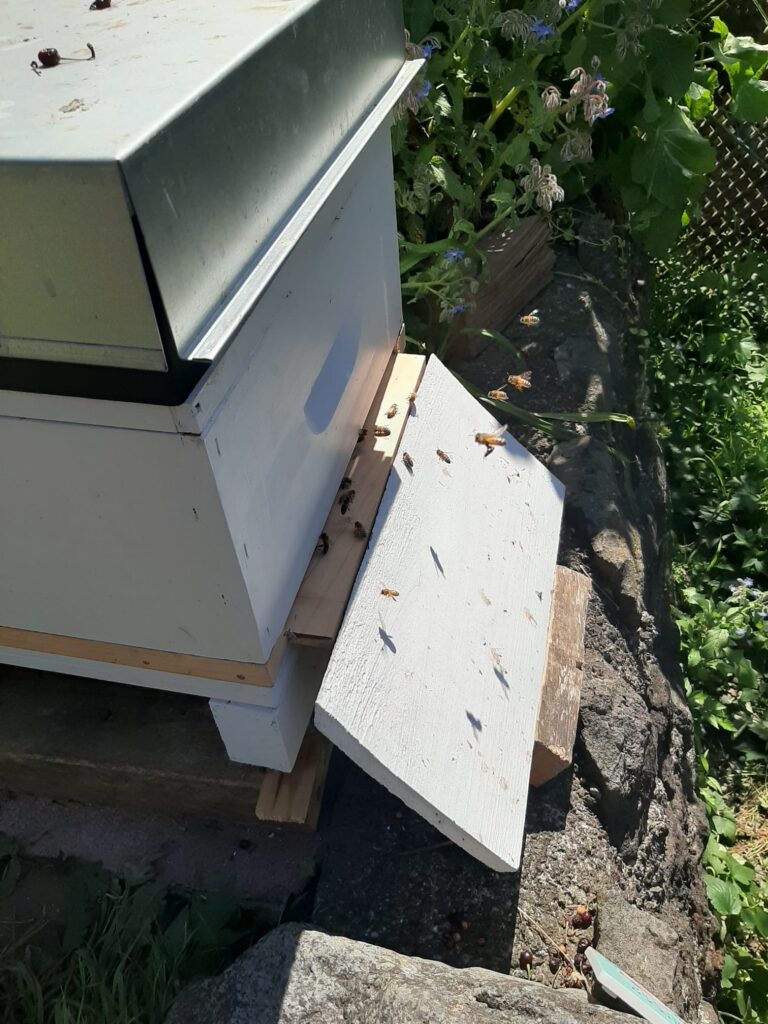
But it is fitted, and the bees have accepted it with no problems. The floor is now reversed, with the original entrance pointing to the back. The new entrance takes the bees in just above the meshed layer. And it should be core flute I’m sliding in the back, but I found a just the right sized piece of glass as a starting point, until I can score some core flute.

Who knows? Might see my first varroa mite tomorrow!

Settling in…

Well, the bees are getting well-settled into the area, hauling in masses of pollen and nectar. And I’m settling into being a beekeeper again. Got my first two stings. Yes, I remember what they are.

Feeding the colony with sugar syrup, as even with a good nectar flow just now, I want to maximise their wax building propensities. They aren’t taking the syrup down really fast, as the feeder is designed to limit the number of bees that can access the feed, as well as keeping them from drowning in it.

“Over the top” feeders I’ve used in the past were mostly egg pulp tins cut in half (that job is not fun), then filled with such as wood wool, fine shavings that would reduce the drowning. But we were feeding large amounts of syrup, and it was not so refined or elegant as the feeder I’m using.

Today’s job? I raised the hive about 30mm. Not to give them a better view, but now have the floor supported by 4 old sockets, one on each corner. And I’ve squirted oil over the sockets. And maybe that will keep the ants at bay – they are a real nuisance in a hive, but almost always there, if you’re feeding syrup.

A beekeeper again…

I first became a “beekeeper” fifty years ago this year, and I wrote about it in an article that was published in Gleanings in Bee Culture, though as I recall it was one of my early instances of seeing something edited badly.

So yesterday I picked up a 5 frame (3/4 depth frames) nuc hive, a “nucleus” with an active young queen that will, hopefully, grow into a full-sized hive to go into the winter. The bees were active almost as soon as I opened the entrance, with colourful pollen being carted avidely.

Sophia and I transferred the frames into a 3/4 depth box, giving them another 5 frames of foundation that they can use to store surplus nectar and for the queen to be able to lay eggs to increase the bee population.

I used to say that beekeeping was a sort of “population management” exercise, trying to help the colony build up to a maximum strength when the maximum amount of nectar and pollen is available. In the time I’ve been away, another layer has been added to that: we will have to manage the varroa mite population, as well, and do it in such a way that it keeps the mite numbers down, but still allows for taking honey.

But for now, I’ll probably spend a lot of time watching the entrance. It’s been a long time…

Veils…

Woodman veil

Most of my beekeeping, I used the traditional “Woodman” veil.

Though you could pull it off your hat and squash it down around your neck when driving between apiaries, it wasn’t ever very comfortable. Having said that, I bought a new one so that ‘visitors’ to the apiary could have their own veil.

But I got sold on the veil made by B.J. Sherriff, and I still have one of the first ones I ever got.

Brian and Pam Sherriff came out to NZ a number of times, and stayed with me in the middle 1980s. Brian told some great stories!

The B.J. Sherriff veil

He ‘invented’ the veil as a result of not liking stings much after he decided to buy a heap of beehives. None of the bee veils suited him, so he and Pam made their own. They were, after all, the owners of a brassiere factory, believe it or not! So they had access to materials and serious sewing expertise.

At this point, Brian would reach in his pocket and pull out what looked like a handkerchief – but it was in fact a miniature bra attached to his business card, and folded so that one of the ‘peaks’ would stick out of his pocket.

So Brian and Pam started making a range of veils with the unique zipper across the throat (I used to call it a “throat-slitter veil”) so you can unzip and throw the veil over your head, out of the way until you’re ready for it again. To my mind, they make some of the best veils around, for hobbying or commercial beekeepers. I think they have been heavily immitated – but I’m proud to say mine was made in the UK by the BJ Sherriff company. I’m not sure when I got it – early 1980s for sure…

When I saw the labels on this, it made me curious. So I did a bit of looking to realise that though Pam had died some years back, Brian lived until August 2022, into his 90s. I emailed their daughter, who runs the company now, located in Cornwall, UK.

She related how much Brian and Pam liked travelling the world to beekeeping meetings!

I’m proud to still have one of his early veils to wear in my new beekeeping endeavour…

D0482…

When I registered as a beekeeper a year or so ago, the AFB PMP Management Agency was able to re-activate my old registration, inactive for about 20 years.

I started making my first hives in 1975, and for the few years from then, the hives were always located on a registered apiary of the beekeeper I was then working for. It wasn’t until late 1978 that I bought some hives up at Lake Okareka, outside Rotorua. So by that time I had maybe 30 or 40 hives, and filled in the (paper) form for the Ministry of Ag and Fish (MAF) to register.

So I was given D0482. The “D” indicated the district at the time of registration, and the numbers would have been assigned sequentially.

I’ve mostly marked my apiary with a 50mm square post in the ground, with the D0482 painted on it, rather than branding or painting the code on the boxes themselves. So there’s another job to put on my list of things to do before the bees arrive…

A bit of old, a bit of new…

OK, don’t get excited. The beehive you see doesn’t have any bees in it. That is still to come.

For now, the woodware I got from Ecrotek is just being stored there, waiting until the nuc arrives to populate it.

But it isn’t all new woodware (and new gloves and veil) – I will still be using my hive tool and smoker from about 40 years ago.

I’ve done my best to refurbish the smoker a bit, as it was never all that good. But I’ve plugged up a few holes, and tried to sort out the flap valve that controls the air. We’ll see…

Beekeeping…

I’m going to be a beekeeper again, for the first time in about 20 years.

When the varroa mite got to NZ in April 2000, I still had one hobby hive. I wasn’t a very good hobbyist, as I was not driven by the more commercial attitude of “got to get the work done”. And I lost my hive to varroa, in that first year or so.

But now I’ve bought some new equipment, and will be receiving a nuc hive in a few weeks.

So I’ll maybe keep this blog going as a sort of apiary diary of my first year of beekeeping – again. I guess my first real year beekeeping was 1973, with a hive my Dad gave me. I bundled it bee-tight and took it from Houston to Austin in the back seat of my car!

Sultanas…

Some years back I planted a white grape, the type with seeds but very, very sweet, on our back fence. I trained it moderately well, and it is now massively productive.

Whole grape sultanas on the left, halved and deseeded on the right

I don’t know how/don’t want to know how to make/drink wine, really.

So most of the crop goes to some really high class vinegar – I recommend it.

But this year I put some of the grapes into our dehydrator. I had to keep a pretty close eye on them as they dry up and harden quickly.

Going for the path of least effort, I did one tray of them whole. Seeds and all. And I guess the result matched the amount of effort, really. Edible, but not easy to eat…

The other tray sounds more laborious than it really was. I cut the grapes in half lengthwise, then picked out the seeds. A small cocktail fork made it a quick operation.

And those are by far the ones I like – that’s what I’ll be doing next March. Sitting and cutting and picking seeds out of grapes…

Hiratanenashi persimmons…

It would be about five years ago I got a persimmon tree from a local garden centre. While it claimed “delicious sweet fruit” it didn’t specify that it was of the Fuyu variety. Here in New Zealand, Fuyu is predominantly grown. That’s the persimmons that are eaten when they are still hard, crisp like an apple.

The other variety, the “older” persimmon variety, is generally called hachiya, and mine is close related to that variety, though somewhat larger and shaped more like a Fuyu.

But believe me, this is one of the astringent varieties. If they are not absolutely ripe, overly mushy in fact, they have enough tannin or whatever to turn your mouth inside out. Seriously unpleasant. Many people just refuse to eat them because of the fear of astringency!

Frozen blocks of persimmon pulp.

But if you’re patient, and wait until they are soft and squashy – they are a delight to eat. Sweetness and flavour – a delightful fruit.

This year, the second year of reasonable production, wasn’t quite as large as last year’s, but I did plan to cope with the birds better. Last year it seemed all the local birds will swoop on the tree and peck out all the fruit – and always before they were really ripe! The astringency did not bother them at all!

So this year I used clothes pegs to clip small pieces of nylon window mesh material around each fruit or cluster of fruit. And it worked fine. Hard to judge the colouring when looking at them through the spring and summer, with most decisions made by squeezing them.

I ate some of them fresh, of course, but I’ve frozen most of what I harvested. Not sure what I’ll make from it. Last year I made some of the best vinegar I’ve ever made from this persimmon pulp/juice, but that seems to be undervaluing it, really.

So just before I went to pick the last two fruit on the tree, I heard about hoshigaki, a method developed to store these astringent persimmons. It is, really, just dried astringent persimmons, but with a certain process.

The stem and woody calyx at the top is left intact, and the persimmon is basically just peeled. They should be still quite firm, more firm than you’d ever risk trying to eat raw… But the ones I had were quite mushy, so peeling was challenging. I did surprisingly well, as it turns out.

The fruit are then suspended on strings – I tied one end of a piece of string to the two I had. Traditionally, they are hung, often even outside under the eaves of the house, to dry through the autumn and winter. Me, I just hung mine up in front of my desk. This photo, however, shows them over near a window so you can see the colour better.

Hoshigaki – persimmons drying.

And they are drying. At first it seemed like they might just start dripping liquid, but they have maintained their shape and texture, with only 1 or 2 drops of sweet, sweet juice. Just now, about 10 days into the drying, they are still quite squashy, but the outside has dried to a sort of leather.

But here’s the fun part! As they dry, each day or two, they are supposed to be massaged gently! Rolled between thumb and fingers. Why? Apparently that helps to break up the ‘lumps’ of the inside, and encourages the sugars to migrate to the surface of the fruit! They should have a sort of ‘dusting’ of sugar in a few more weeks’ time, and then they’ll be ready to eat.

Most of what I have read compares them somewhat to a moist dried fig/apricot sort of thing. I wish I had more than just two to play with just now!

Olives…

Well, more than a year has gone by since I’ve written of anything food or kitish… But so it goes…

We have two olive trees that were put in the ground when somebody only wanted the planters. So they’ve been there, growing, for 6 or 8 years I guess.

In past autumns, there might be a few olives on the ground, but not enough to do anything with. But this year has been different…

The “collecting and needing to deal with” came suddenly, and some of the earlier olives may have still been pretty immature. The worst problem is birds. Almost all of the olives would have a peck taken out of them, so collection was pretty slow.

But we ended up with about 3 or 4 litres of olives. OK, now to the processing: do not eat an olive that has fallen from the tree. Or do – see if I care. An uncured olive is one of the most bitter, unpleasant flavours that there is.

So since I was researching in a hurry, most of these olives were cured in a saline solution (1:10 salt:water). And changed the solution every few days or a week.

So that’s the ones in the pantry just now, mostly. They are pretty good, but still sometimes a bit more bitter than even I prefer.

Washed and ready to process.

So last week Averil spotted another olive tree on the side of the road nearby. We rode over this morning to collect nearly 1.8 kg (nearly 4 pounds) of plump, black olives – with hardly any insect or bird damage.

I took a few photos as I dealt to them. I took the first half to do what is called “oil cured” olives. As misleading as it can be! You don’t cure them in oil. In fact, you just hang them in a muslin bag, along with about the same weight of salt. That’s it.

Olives and salt in a muslin bag.

The first lot I did took about 4 or 5 weeks of just hanging outside on the clothes line. Yes, just hanging out there in the rain. And when there wasn’t much rain, I watered them. By the time I brought them in, there was still salt on the surface, but they had wrinkled and turned black. A quick rinse to get rid of the surplus salt, and we’ve got some pretty damn good olives – had them on a pizza just the other night!

So I’ve done half of today’s olives that way. After hanging out there, and rinsing, the “oil cured” comes into it when you put a small bit of olive oil in the jar and shake them around…

Slicing olives.

For the other half of what we got today, I’m using what I think is a more ‘traditional’ Greek approach. Rather than putting the olives into a brine to cure, this method has you put them into fresh water, and then keep changing the water every day or three.

But this method has some extra labour. While the brine has no problem going into the olives as they cure, plain water won’t go in so readily. So each olive has to have a small slice in it, with one source saying “don’t cut on the pip – it makes it even more bitter…”. It wasn’t as bad as it sounds, sitting on the deck in the sunshine.

‘Cut’ olives in water.

It should take some weeks of regular water changing before the bitter is gone. And only then would they perhaps have some storage time with a 10% salt solution, to give them a bit more flavour and help with storage.

As the olives cure over time, you can almost see the bitterness being washed out, whether it is with brine or with plain water. After a time, the water you are changing is sort of a purple colour.

When I first ate some of our own cured olives, I had to try to pretend to myself that they were really commercially prepared ones. I simply couldn’t believe that I would be able to turn that absolutely wretched flavour of raw olive into something that could be pleasantly eaten and enjoyed…